
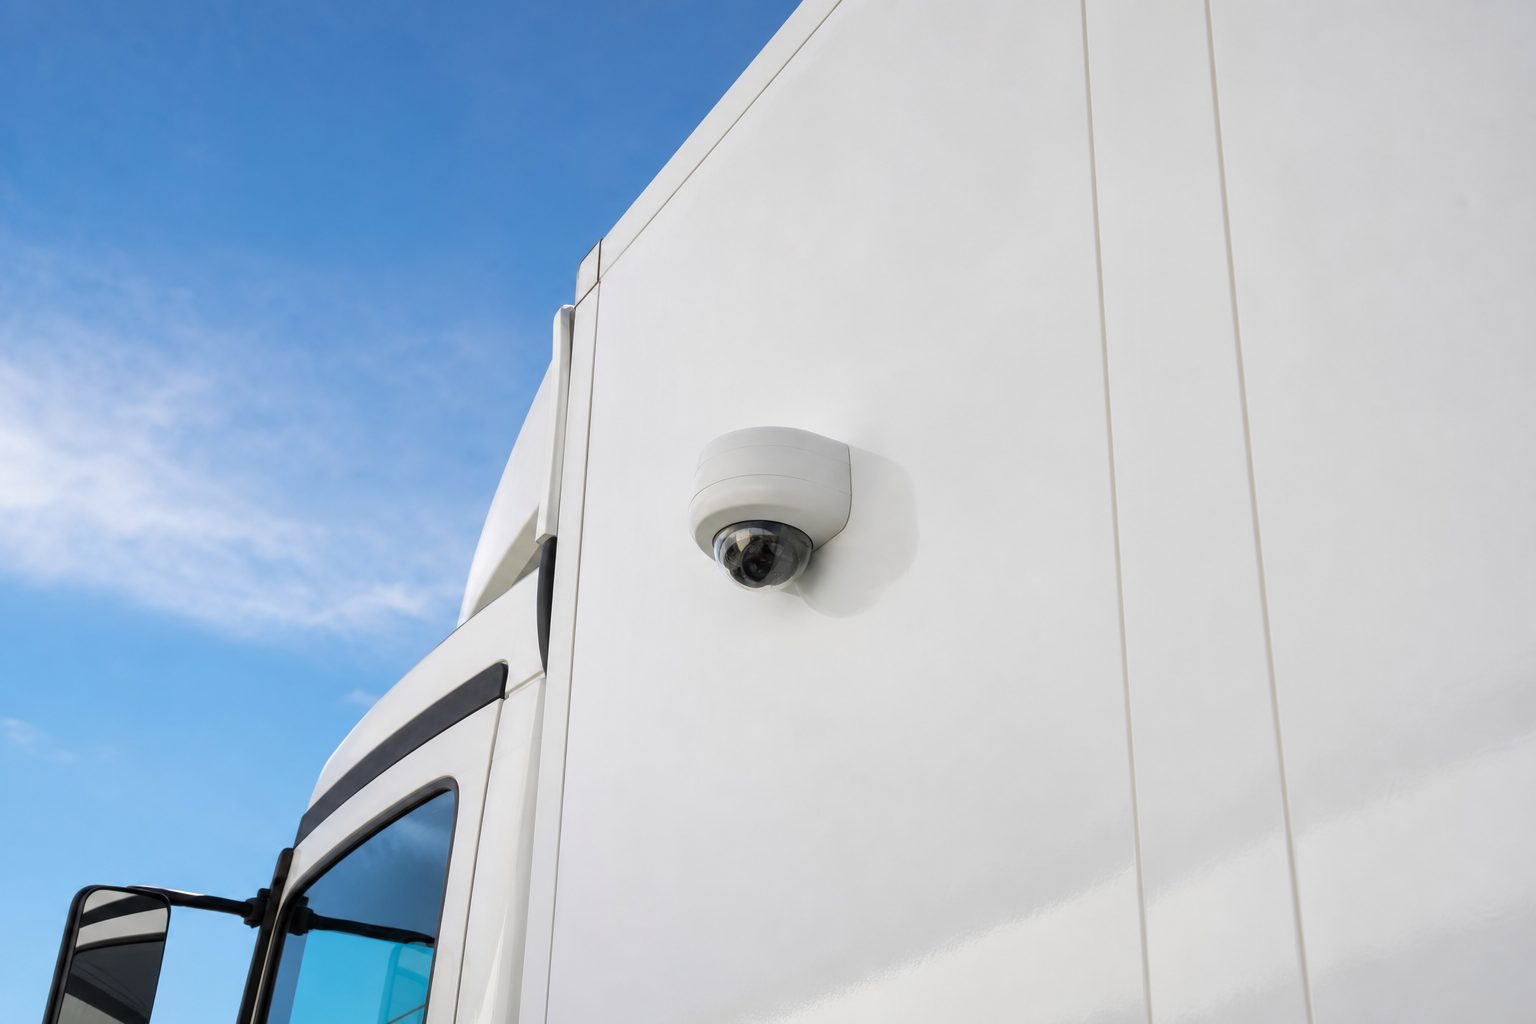
A camera that has not been cleaned for three months is not doing its job. Road spray, harvest dust, winter salt, and diesel film all accumulate on HGV camera lenses — and the result is not just degraded image quality. Dirty lenses cause false alerts in AI-assisted systems, produce footage that is inadmissible in disputed claims, and trigger ADAS warnings that confuse drivers on familiar routes. The camera system you invested in to protect your fleet only delivers that protection when it is in working condition.
Most fleet managers have a clear protocol for daily walkaround checks: tyres, lights, mirrors, brakes. Camera maintenance rarely makes that list. It should. A five-minute lens and housing check on a weekly basis is all it takes to keep an HGV camera system performing as intended — and it costs nothing beyond a microfibre cloth and a few minutes of driver time.
This guide covers everything from the basic driver-level clean to the quarterly workshop checks your fleet should have on the maintenance schedule. The principles apply to all forward-facing, nearside, offside, rear, and internal cameras — including the MDVR unit itself.
You do not need specialist equipment for routine HGV camera cleaning. The following is sufficient for the driver-level clean that should be happening weekly:
Microfibre cloths: At least two — one dry for the first wipe, one slightly dampened for a second pass if needed. Lint-free microfibre will not scratch camera optics. Paper towels, work rags, and chamois leather will. Use only microfibre.
Lens cleaning solution: A small bottle of camera lens cleaner or alcohol-free screen cleaning spray. Apply to the cloth — never directly onto the lens. One bottle lasts months on a single vehicle.
Compressed air: Optional but useful for removing loose grit before wiping. A can of electronics-safe compressed air (or a soft brush) removes road debris without pressing it into the optic surface.
Torch: For checking housing seals and mounting brackets, particularly on nearside and rear cameras that are hard to inspect in a busy depot yard.
For workshop-level maintenance — checking MDVR units, cable integrity, and firmware — your workshop team will use a laptop and the manufacturer’s firmware update tool. That is covered later in this guide.
This routine takes under ten minutes per vehicle and should be completed weekly, or after any run in muddy, dusty, or heavily salted conditions.
Before touching the lens, look at it. Is there loose grit on the surface? If so, use compressed air or a soft brush to dislodge it before wiping. Rubbing grit across a camera optic with a cloth — even a microfibre — is how scratches happen. Blow or brush first, then wipe.
Apply one or two drops of lens cleaning solution to a dry microfibre cloth. Never put liquid directly on the lens — it can work into the housing seal and cause moisture ingress over time. Wipe the lens in a gentle circular motion from the centre outward. For external cameras that have been in heavy spray conditions, a second pass with a clean dry cloth removes any remaining streaking.
Do not use household glass cleaner, WD-40, or screen wipes intended for phones and tablets. Many of these contain ammonia, which degrades the anti-reflective coatings on camera optics and causes the image quality problems you were trying to prevent.
The camera body and housing attract the same road contamination as the lens. A damp microfibre wipe over the housing removes diesel film and salt deposits that would otherwise work their way toward the mounting bracket or housing seal. Pay attention to the area around the cable entry point — this is where moisture ingress usually starts on ageing installations.
HGV cameras take significant vibration stress, particularly nearside and rear units mounted on bodywork that flexes under load. Give the camera housing a firm (not forceful) check for movement. If it shifts, the mounting bracket needs tightening or replacing before the next run — a loose camera changes its field of view and may be outside the coverage zone entirely.
After cleaning, view the camera output on the cab monitor before departure. A quick live-view check confirms the lens is clear, the image is stable, and the field of view is correct. If the image is still blurred after cleaning, the issue may be internal condensation, a cracked optic, or a lens coating that has degraded — all of which require workshop attention.
Driver-level cleaning handles surface contamination. Workshop-level maintenance handles the system components that drivers cannot access from the cab. The following checks should be on your periodic maintenance schedule alongside the standard HGV service.
HGV camera cables run through areas exposed to heat, vibration, and abrasion. Inspect the full cable run from camera to MDVR unit: look for chafing where cables pass through metal edges, cracking in the outer sheath on cables near the engine bay, and corrosion at the connector ends. A corroded connector causes intermittent signal loss — the fault that is hardest to diagnose on a connected MDVR system because it does not show as a constant failure.
The MDVR is the recording unit that consolidates all camera feeds. Check that the unit is securely mounted, that the ventilation slots are clear of dust and debris, and that the 4G antenna connections are secure if your system uses live view. Dust accumulation inside the unit housing is the leading cause of premature MDVR failure — a blast of compressed air through the vents once a quarter extends unit lifespan significantly.
If your MDVR has removable storage (SD cards or a hard drive), check the storage health as part of this visit. Most MDVR systems include a storage diagnostic in the admin menu. Storage that is showing errors or operating at reduced capacity should be replaced — failed storage means missing footage, and missing footage means a claim you cannot defend.
Vehicle camera manufacturers release firmware updates that address image processing bugs, improve ADAS performance, and patch connectivity issues. Check for available firmware at your quarterly service and apply any pending updates. This is particularly important for AI-assisted systems: outdated firmware is a common cause of false positive alerts where the camera misreads road markings, signage reflections, or overpasses as collision events.
External HGV cameras are rated to IP67 or IP69K for weather resistance. That rating is not permanent — it depends on the integrity of the housing gasket and the cable entry seal. After a heavy winter on UK roads (salt, standing water, pressure washing), check the housing seals on all external cameras. A housing seal that has dried out or cracked will allow moisture ingress, causing condensation on the lens interior that no amount of external cleaning will resolve.
A question that comes up regularly when operators are reviewing their maintenance approach: do internal cameras need the same care as external ones? The answer is yes, but with different priorities.
Internal saloon cameras do not face road spray and salt. Their maintenance challenge is dust accumulation, interior condensation (particularly on vehicles that run early morning starts in cold weather), and the gradual build-up of interior contamination from passenger activity. A monthly lens wipe with a dry microfibre cloth is sufficient for most operations.
What internal cameras need that external ones do not is attention to the cable run inside the saloon. Cable management that looked tidy at installation can shift over months of service as saloon fittings are cleaned, adjusted, or replaced. A loose internal cable is a trip hazard and a potential claim — check cable routing is secure and not creating any obstruction at the quarterly service.
HGV cameras face conditions that security cameras on buildings or dashcams on cars simply do not encounter. Knowing these factors helps you set a realistic maintenance frequency.
Motorway spray: The turbulent air behind a moving HGV creates a spray zone that deposits road contamination on nearside and rear cameras at a rate that surprises operators who are used to car-mounted dashcams. After motorway-heavy runs, the rear and nearside cameras will need cleaning regardless of the weekly schedule.
Agricultural routes: Vehicles running regular routes through harvest areas accumulate fine dust on all external lenses within a single shift. Operators running agricultural or quarry supply routes should consider daily lens checks during high-dust periods.
Pressure washing: Depot pressure washing is the most common cause of premature housing seal failure on HGV cameras. Do not pressure-wash camera housings directly. Rinse with low-pressure water and a cloth. An IP69K rating allows brief high-pressure exposure, but repeated pressure-washing accelerates seal degradation on IP67-rated units.
Vibration on older vehicles: HGVs running on older suspension systems transfer more vibration to bodywork-mounted cameras. Mounting bracket check frequency should increase on higher-mileage vehicles — loose brackets are found at quarterly intervals on newer fleets but monthly on vehicles over 500,000 km.
Weekly as a minimum, with additional cleans after runs in heavy spray, dust, or salted road conditions. Operators running agricultural routes during harvest or motorway-heavy circuits may find every two to three days is more realistic in practice.
No. Most household glass cleaners contain ammonia, which damages the anti-reflective coating on camera optics. Use dedicated lens cleaning solution applied to a microfibre cloth — not directly to the lens.
If the image remains blurred after a thorough external clean, the cause is likely internal condensation from a damaged housing seal, or a cracked optic from impact. Both require workshop attention. Check the housing seal around the cable entry point first — this is the most common moisture ingress point on rear cameras that have been through pressure washing.
Yes. AI-assisted camera systems use the lens image to identify objects, lane markings, and speed signage. A dirty or scratched lens introduces artefacts that the system can misread as collision threats or speed limit signs. Regular lens cleaning is part of ADAS system maintenance, not just footage quality.
Most fleet operators retain footage for 28–31 days. Legal guidance for commercial vehicle operators commonly recommends 31 days minimum to cover delayed claim notification — injury claims arising from road incidents are frequently submitted two to four weeks after the event.
IP67 means the camera can withstand temporary immersion in water up to one metre for 30 minutes. IP69K means it can withstand high-pressure, high-temperature water jets — the specification relevant to pressure-washing environments. For HGV cameras on vehicles that go through pressure-wash lanes, IP69K is the appropriate rating. IP67 cameras in pressure-wash environments will eventually develop moisture ingress even if the initial housing seal is intact.
A brief visual and image check — confirming the lens is clear and the live view is normal — takes under two minutes and is appropriate as part of the daily walkaround. The full cleaning routine (wipe down, housing check, mounting check) is best scheduled weekly rather than daily, to avoid over-handling of camera housings.
Internal condensation, persistent image faults after cleaning, cable signal faults, and MDVR recording failures are all workshop-level faults. Attempting DIY repairs on sealed housing cameras can void the IP rating and the manufacturer warranty. If a fault persists after the driver-level clean and a basic cable check, it needs a specialist — not more aggressive cleaning.
A two-page printable checklist covering the weekly driver-level camera clean and the quarterly workshop maintenance checks for HGV camera systems.
Tell us what vehicles you run and what you need — we will come back with a recommendation and a price. Prefer to talk? Call 01656 721871.
Related guides: Camera Placement Guide for Waste Collection Vehicles · Should You Record Audio? An Honest Look for Fleet Managers
4 August 2026
Monday to Friday:
8.30am-5.30pm