
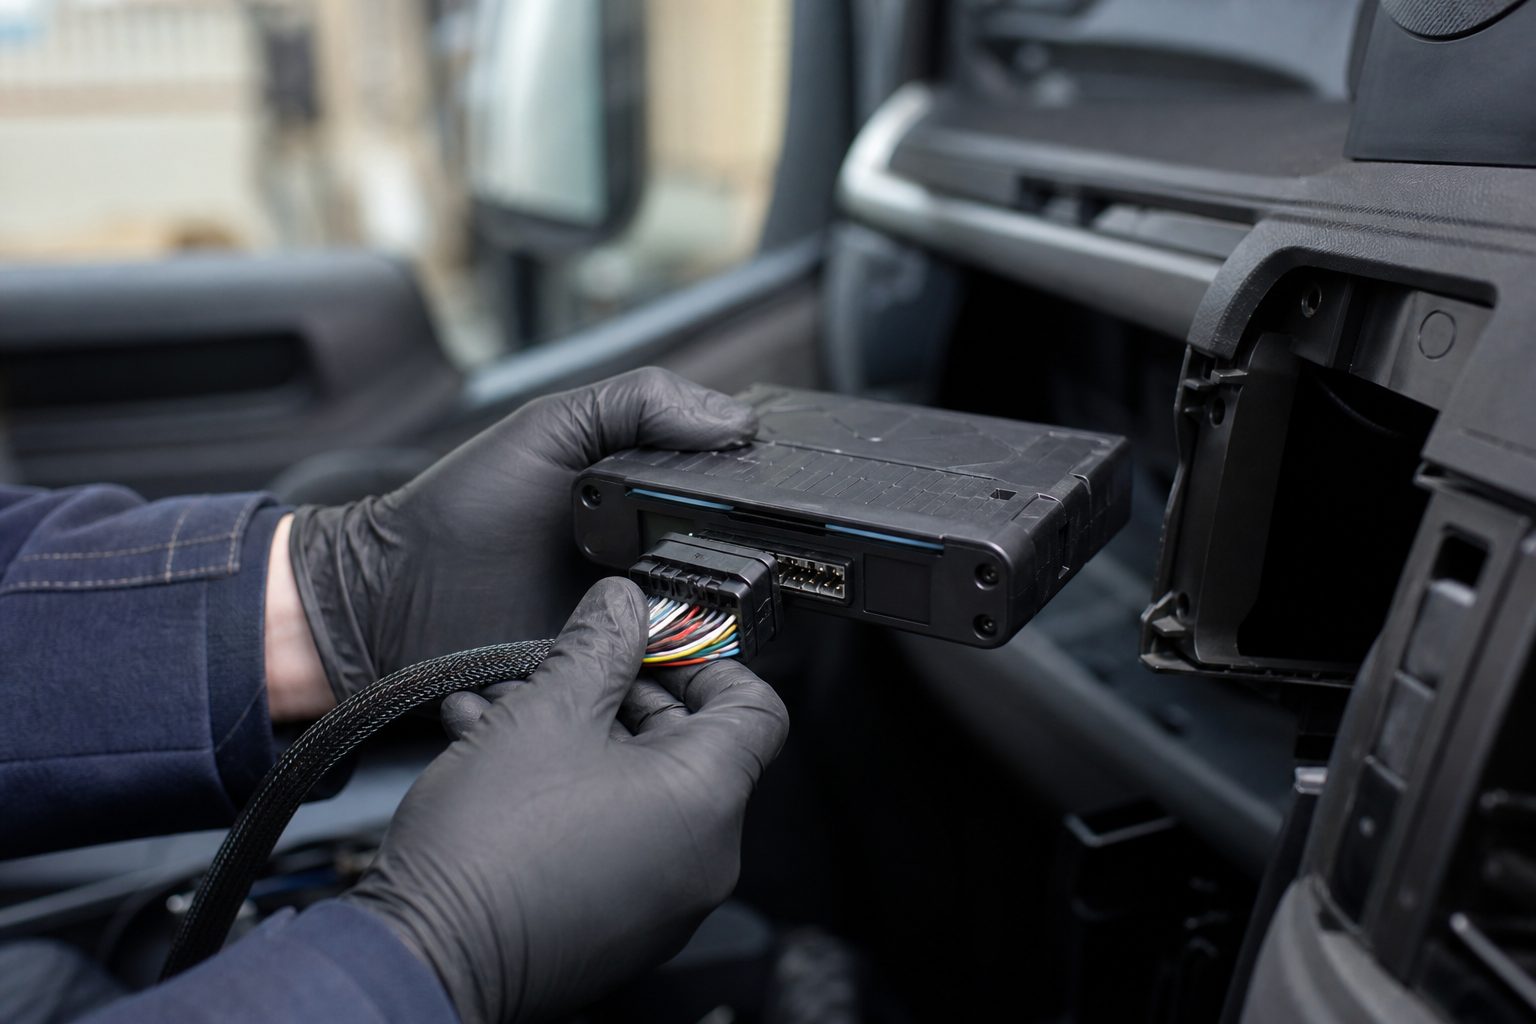
A poorly chosen mount can mean a camera is easily ripped off during loading, provides poor night performance, or leads to false confidence. This guide cuts through the marketing noise to give you practical trade-offs — how different mounting positions affect what your camera sees, what to expect in terms of durability, and how to avoid common pitfalls like power wiring errors or signal dropouts.
The physical location of your camera dramatically impacts its effectiveness. The geometry of placement affects what your camera can show you — and what crucial details might be obscured or missed entirely.
A low-mounted camera (e.g., bumper) excels at showing the area directly behind the vehicle, useful for hitching, but might miss distant traffic. A high-mounted camera (e.g., third brake light) offers a wider, more comprehensive view of the road behind (up to 10–15m), but can create a blind spot directly beneath the camera (within 0.5m).
“Routing cables under the sill saves time and reduces leaks.”
Fleet Mechanic
| Mount Type | Visibility / FOV | Weather Exposure | Theft / Damage Risk | Install Difficulty | Typical Use Case | Pros | Cons |
|---|---|---|---|---|---|---|---|
| Licence-plate / tailgate mount | Medium (low angle) | High | Medium | Easy | Pickup / Light Commercial | Cheap, central view, easy install | Covers with muck, vulnerable to impact |
| Bumper mount | Medium (very low angle) | High | Low | Moderate | Pickup / Commercial | Protected, good for hitching/low objects | Limited far-field view, can get dirty |
| Third brake light / CHMSL | High (wide & high angle) | Medium | Low | Moderate | HGV / Pickup / Box Truck | Protected, wide view, central, less dirt | Harder to access for repairs, small near-field blind spot |
| Roof / over-cab / roof-rack | High (very wide & high) | High | Medium | Hard | HGV / RV / Box Truck | Max visibility, clears loads | Vibration, complex cable routing, prone to bird strikes |
| Canopy / topper mount | Medium–High | Medium | Low | Moderate | Pickup with Canopy | Protected, central view for bed area | Vibration issues, may interfere with canopy opening |
| Rear window / interior dash | Medium (limited by load) | Low | Very Low | Easy | Pickup / Van / Car | Protected from weather/theft, simple install | IR glare, obstructed by tint/load, condensation |
| Side-mirror / A-pillar | Medium (side visibility) | High | Medium | Moderate | HGV / Pickup / Commercial | Reduces blind spots, aids lane changes | Vibration, impact risk, aftermarket appearance |
| Trailer-side / side-rail | Medium (side visibility) | High | Medium | Hard | Articulated Trailer / HGV | Covers trailer blind spots, long vehicle safety | Long cable runs, vulnerable to side impacts |
| Magnetic / portable | Varies | High (temporary) | High | Easy | Temporary / Rental Vehicle | Fast fit/remove, flexible placement | Falls off at speed/rough roads, theft risk, battery limited |
Recommended: bumper-mounted (rear) + rear-window interior. Low bumper mounts aid close-quarters reversing. Interior rear-window cameras are protected from minor bumps and theft — ideal for frequent stops. Avoid exposed roof mounts and fragile side mounts.
Recommended: high-mount / CHMSL for tractor + trailer-side / side-rail mounts. High mounts provide a commanding view over the long trailer. Side-rail cameras are crucial for monitoring lengthy blind spots during lane changes. Avoid wireless cameras for critical feeds and anything prone to vibration at sustained high speeds.
Recommended: CHMSL with armoured housing + heavy-duty bumper mounts. High, protected mounts are less likely to be obscured by mud or damaged by debris. Avoid adhesive mounts (fail under vibration/dirt) and low-slung vulnerable mounts.
Recommended: magnetic / portable mounts + cigarette-lighter powered dash cams. Easy to install and remove, allowing flexibility across different vehicles without permanent modifications. Avoid hardwiring (may void rental agreement) and permanent drilling.
Recommended: roof/over-cab + low-mounted rear camera on the trailer + side-mirror / A-pillar. Trailer rear cameras should be mounted low on the trailer rear rather than on the top frame. Side-mirror cameras provide crucial blind spot coverage often obscured by large trailer bodies. Avoid rear-window mounts (fully blocked) and low tailgate mounts.
Recommended: CHMSL with enhanced sealing + robust bumper mounts. These positions offer good protection against frequent exposure to dirt, dust, and water. Avoid any mount with exposed wiring or non-weatherproof connections.
| Problem | Likely Cause | Fix |
|---|---|---|
| Intermittent video or dropout | Loose or corroded connections, faulty cable, poor wireless signal, power fluctuations | Check all cable connections for tightness and corrosion (apply dielectric grease). For wireless, check for interference or repeater issues. |
| Constant recording / not triggering | Incorrect power source (always-hot instead of accessory fuse), faulty reverse trigger wire | Verify power source is ignition-switched with a multimeter. Re-check reverse trigger connection. |
| Grainy night footage / IR bloom | Dirty lens, IR reflection (interior mounts), insufficient external IR illumination, condensation | Clean lens thoroughly. For interior mounts, reposition externally or use non-reflective IR solution. Check for internal condensation. |
| Water ingress or condensation inside lens | Compromised seals, improper grommet installation, cracked housing | Inspect all seals, grommets, and housing for cracks. Re-seal with exterior-grade silicone. Replace camera if condensation persists. |
| Excessive vibration / blurred frames | Loose mounting bolts, inadequate anti-vibration mounts, camera on a flexible panel | Tighten all fasteners, add rubber washers or anti-vibration mounts. Consider moving to a more rigid mounting point. |
| Camera stolen or mount damaged | Exposed location, lack of tamperproof fasteners | Relocate to a less visible or more protected area. Use security bolts or armoured housings. |
| SD card full or overwriting too quickly | Low capacity card, non-high-endurance card, constant parking mode recording, wrong loop recording settings | Upgrade to a higher capacity, high-endurance SD card. Check loop recording and parking mode sensitivity settings. |
A higher mount provides a broader overview and better far-field visibility — but it creates a larger blind spot directly beneath the vehicle, making hitching or spotting low obstacles difficult. It also increases the risk of damage from overhead obstructions. Balance height with your need for near-field visibility; a dual camera setup (high for overview, low for detail) is often best.
Night performance depends more on the camera’s sensor, optics, and IR illumination quality than on resolution. IR glare off glass or condensation on exterior lenses can still render high-resolution footage useless. Prioritise a good sensor, proper IR management, and strategic placement over resolution alone for night performance.
On long vehicles like HGVs, wireless signal dropouts or lag can be critical. Wireless systems also require their own power sources or can drain the vehicle battery if not properly managed. Use wireless for non-critical views or where cabling is impossible; for mission-critical evidence, wired is more reliable.
High temperatures, extreme cold, constant vibration, and road spray quickly degrade adhesive on commercial trucks. Always use mechanical fasteners (bolts, screws, clamps) for long-term or heavy-duty installations, especially on exterior cameras.
Even a tiny gap around a cable penetration allows moisture to creep in over time, leading to electrical corrosion, mould, or damage to interior components. Never skip sealing cable penetrations — it’s cheap insurance against expensive future problems.
Problem: Frequent minor rear-end parking incidents and blind spot collisions in tight urban areas.
Solution: Low bumper-mounted cameras for precise obstacle visibility, interior rear-window cameras for general rear recording, and side-mirror cameras to cover blind spots.
Outcome: A setup like this can help reduce minor claims and provides clear video evidence when incidents occur.
Problem: Rear cameras constantly covered in muck, damaged by debris, or obscured by tipping loads.
Solution: Replaced vulnerable low mounts with a high-mounted camera in a custom-armoured housing near the CHMSL, including a small air-blast system to clear dirt.
Outcome: Camera uptime improves markedly, with far fewer damage incidents.
Operators who make this change typically find the higher upfront cost pays for itself — the camera stays clean and rarely needs attention.
Problem: Curtain-side load variations and trailer length caused severe blind spots, increasing risk of damaged goods or side-swipes.
Solution: Rugged low-mounted camera on the rear of the trailer plus two IP69K side-rail cameras along the trailer length, feeding into a mobile DVR.
Outcome: Fewer damaged loads and fewer side-swipe incidents.
Drivers on long articulated combinations typically report that side cameras make the biggest difference in tight turns, showing what is alongside the trailer.
If you’re still unsure, a mechanically-fastened CHMSL (third-brake-light) or high-mount offers an excellent balance of visibility, protection, and reliability for most truck types. It’s a proven solution that addresses many common operator frustrations.
For most trucks, the high third-brake-light / CHMSL position gives the best compromise — wide view, protected, and less likely to be obscured by dirt. Choose bumper or licence-plate mounts when near-field or low-angle coverage is the priority.
Yes — canopy mounts give good central coverage for pickups, but expect higher vibration. Ensure mechanical fixation with anti-vibration mounts rather than relying on adhesive alone.
Adhesive can work short-term on clean, flat surfaces, but for heavy use or high vibration, always back it with mechanical fixings. Do not rely on adhesive alone for exterior commercial vehicle installations.
Use a proper grommet, dielectric grease on connectors, and exterior-grade silicone sealant around the penetration. Document with photos for your installation record.
They can — IR will reflect off glass unless the IR is directed away from the glass. For reliable night vision, use external mounting or a camera with external IR emitters.
Yes — alignment and trigger timing should be validated via the testing checklist above. For AI-enabled cameras, recalibrate whenever the camera position is adjusted or after any impact.
IP67 is the minimum for exterior cameras. IP69K is preferred for commercial vehicles exposed to high-pressure wash environments such as construction trucks or agricultural vehicles.
Only if power and latency concerns are fully addressed. For mission-critical evidence capture on vehicles over 10m in length, wired systems are significantly more reliable.
Related guides: Camera Placement for Construction Vehicles · Best Fleet Camera Systems for 20+ Vehicles
Tell us what vehicles you run and what you need — we will come back with a recommendation and a price. Prefer to talk? Call 01656 721871.
4 August 2026
Monday to Friday:
8.30am-5.30pm