
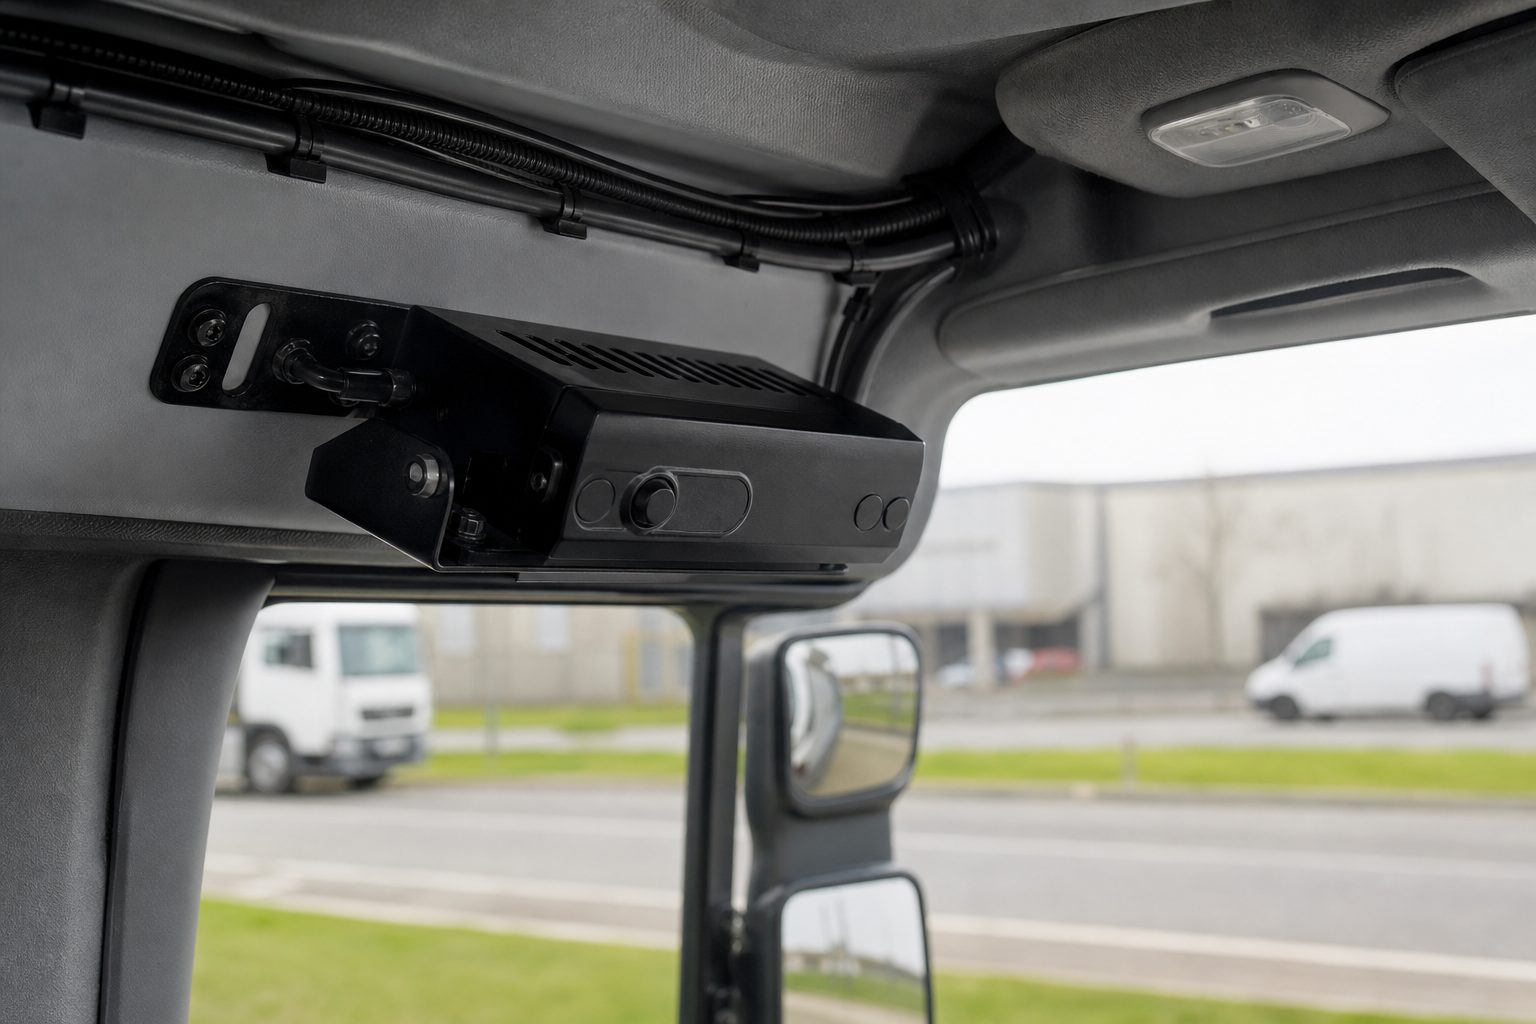
Reversing and blind-spot incidents remain a high-cost, high-risk issue for articulated combinations. An untested camera fitted without consideration for trailer length, coupling movement or night spray can give a false sense of security, increase claims exposure and frustrate drivers. Regulators and schemes (DVS/London, FORS, CLOCS) are pushing for better vulnerable-road-user protection – but equipment alone is not the answer.
This guide is written for operators who need systems that work in real fleets. You’ll get a clear map of system types, a comparison table, an installer-ready rollout process, a day-one validation checklist and the real limits to expect.
Operator scenario – a driver rehearses a yard reverse at 0200; the fitted rear camera obscures the left trailer corner with spray and the near-miss isn’t captured on footage. The install passes visual sign-off but fails in real conditions.
We know operators are time-poor and sceptical of vendor hype. This guide cuts to what you can test, what to budget for, and how to make sure cameras reduce risk rather than create paperwork.
A camera system for articulated trailers is a vehicle-mounted kit of cameras and an in-cab monitor (sometimes with a recorder) designed to reduce blind spots, aid reversing and support compliance for HGV trailer combinations.
Articulated combinations add challenges: pivoting joints, long trailer lengths and coupling movement create blind zones that fixed-vehicle kits must be designed to survive. Mounting, cab interfaces and cab-to-trailer connections need to handle trailer swaps, cable movement and road spray.
“A camera system for articulated trailers is a vehicle-mounted kit of cameras and an in-cab monitor designed to reduce blind spots, aid reversing and support compliance for HGV trailer combinations.”
Infrared night vision in cameras uses two main approaches: sensitive low-light sensors and active IR illumination. Sensitive sensors (high-sensitivity CMOS) amplify available light to render a usable colour image in low light. Active IR uses invisible LEDs to illuminate the scene for the sensor; the resulting image is typically monochrome.
Think of active IR as an invisible torch. IR LEDs bathe the area in near-infrared light; the camera sensor can “see” it even if the human eye cannot. That makes active IR useful in total darkness but it has limits – LEDs have finite range and beam width, and heavy spray or reflective surfaces reduce usable detail.
“Infrared (IR) night vision uses invisible IR LEDs to illuminate the scene and a camera sensor tuned to near-IR wavelengths; it produces a monochrome image useful in total darkness but can be hindered by rain, spray and reflective surfaces.”
Below is a scannable table to match system types to operator use-cases and constraints. All cost figures are estimates – get quotes for your specific vehicles and configurations.
| System type | Best for | Pros | Cons | Install complexity | Estimated cost (UK) | Compliance readiness |
|---|---|---|---|---|---|---|
| Wired multi-camera + DVR | Long-haul fleets with central DVR requirement | Reliable connection · Central recording · Lower latency | Higher install time & cost · Tractor/trailer disconnection · Cable wear at coupling | High | £1,200–£4,000 | High (FORS/DVS if configured) |
| Wireless digital multi-camera | Fixed tractor-trailer pairs; low-loaders and extending trailers | Quicker fit · No bulk cabling · No cable wear at the coupling | Signal drop on long trailers · Battery/antenna dependency · Potential latency | Medium | £900–£3,000 | Medium–High (check recorder/retention) |
| 360° surround-view | Urban delivery & tight manoeuvring | Single composite view · Great low-speed awareness · Simplifies parking | Expensive · Requires calibration · Can mask depth perception | High | £3,000–£8,000 | Low – manoeuvring aid only; does not satisfy DVS/FORS camera requirements |
| Side blind-spot kit | Vehicles near cyclists/pedestrians (urban) | Targeted coverage · Lower cost · Straightforward install | Narrow vs 360 · May need multiple cameras · Less useful at high speed | Low–Medium | £400–£1,200 | High for FORS/DVS if positioned correctly |
| Single reversing cam (long-range) | Simple reversing aid for occasional trailer use | Cheapest · Easy install · Minimal cab training | Single-angle · Not enough for multiple blind spots · Limited evidence value | Low | £150–£600 | Low–Medium |
| Integrated camera + radar sensor | Operators wanting camera + sensor redundancy | Reduces false negatives · Active alerts · Useful in low visibility | Higher cost · Configuration required · Requires fine-tuning | Medium–High | £1,500–£5,000 | High if configured and logged |
Operator note: Drivers report wireless kits sometimes drop on long A-frames – test trailer swap before sign-off. Wired systems are most robust for central recording and evidential integrity, but coupling wear is a real maintenance consideration.
“Proof” for fleets is measurable change: fewer reversing incidents, usable footage when incidents occur, high system uptime and demonstrable claims reduction. Evidence should be numeric and auditable.
Installer tip: always test cameras with a loaded trailer and at night – depot simulations aren’t enough. Driver note: drivers will turn screens off if the view is cluttered – keep the UI simple.
Best option: Wired multi-camera connected via a dedicated Susie line – the camera link re-establishes automatically at coupling.
Procurement checklist: How are trailer disconnects handled – is reconnection automatic via a dedicated Susie line, or does a wireless link need re-coding? What is telemetry retention and who can access footage? What is expected cable life at the coupling?
Best option: Side blind-spot kit + integrated camera/radar or 360° for depot use.
Procurement checklist: Are cameras IP rated and heated for winter? Can the system generate quick clips for enforcement queries? Does the kit meet FORS/DVS positioning guidance?
Best option: Wired multi-camera with ruggedised mounts.
Procurement checklist: Are mounts anti-vibration and connectors IP69K rated? Is there a maintenance SLA for rapid replacements? Are spare parts stocked locally?
Best option: Integrated camera + radar sensor, wired DVR.
Procurement checklist: Can footage be locked and access logged? Are retention and GDPR rules compliant with hazardous-cargo reporting? Is installer certified for hazardous goods vehicle work?
Best option: Start with single reversing cam or side blind-spot kit; pilot before upgrading.
Procurement checklist: What is expected ROI and pilot duration? Is local install support available? What warranties and repair SLAs exist?
| Risk | Mitigation | Example |
|---|---|---|
| Technical failures – cable wear at coupling, camera dislodgement, water ingress | Use rated connectors, route cables with slack loops, inspect couplings monthly | Camera cable chafed at fifth wheel – replaced with sealed conduit and strain relief |
| Wireless signal loss – dropouts on long trailers or metal interference | Test on every trailer length; use high-gain antennas or wired fallback | Wireless link failed at 70m – swapped to wired or fitted repeater |
| False reassurance – drivers over-relying on cameras, reducing head checks | Mandatory training and supervisor checks; cameras supplement mirrors | Driver assumed camera covered nearside and clipped a bin – retrain and update SOP |
| Poor image quality in weather – spray, fog, dirt | Hydrophobic coatings, heated lenses, regular cleaning schedule | Footage unreadable after heavy spray – implement pre-shift lens checks |
| Maintenance & uptime burden | Maintenance SLA, pre-shift checklist and monthly audit logs | No maintenance led to 10% downtime – SLA and spares reduced MTTR |
| Data protection & GDPR | Written DP policy, signage, minimise retention, use encryption, role-based access | Footage accessed without log – implement chain-of-custody controls |
| Liability & compliance trap – improper install may not meet FORS/DVS | Professional install & documented configuration signed off | Non-compliant camera angles rejected at audit – remedied with professional re-fit |
| Cost & ROI mismatch | Pilot programme and clear metric baseline before full rollout | Rollout without pilot produced no KPI improvement – pilot now mandatory |
“Tech that fails in the rain is worse than no tech.” – Driver forums (paraphrased)
This phased rollout is executable end-to-end. Responsible roles: Fleet safety lead, Operations manager, Approved installer, IT/security lead, Drivers’ rep.
Installer tip: label each cable and photograph connections at the coupling – saves hours later. Driver note: if switching cabs/trailers is clunky, drivers will circumvent the system – design for everyday use.
| Myth | Reality | Verdict |
|---|---|---|
| “Wireless is always unreliable.” | Modern digital wireless works well but must be tested on long trailers. | Test on your longest trailer and routes before acceptance. |
| “360° view removes the need for mirrors.” | Supplemental only; depth perception and statutory mirror requirements still apply. | Keep mirrors and use 360° for low-speed aid. |
| “One camera solves all blind spots.” | Multiple angles are needed, especially for long trailers and the coupling region. | Map blind spots before specifying cameras. |
| “DVR means infinite retention.” | Retention is limited by storage and GDPR; retention policy must be explicit. | Decide retention policy and scale storage accordingly. |
| “A cheap kit will give the same results as a pro install.” | Workmanship and calibration often make the difference. | Budget for proper fitment and validation. |
| Alternative | When better than cameras | When worse | Best pairing |
|---|---|---|---|
| Mirrors & extended mirrors | No electronics needed; reliable for basic lateral awareness; no data privacy issues | Cannot record incidents; limited coverage for complex pivot and coupling zones | Use with side cameras for best urban coverage |
| Ultrasonic / radar sensors | Good for detecting solid obstacles at close range; gives audible/visual alerts | Poor at recognising vulnerable road users at certain angles; false alarms possible | Combine with cameras for active alerts and visual confirmation |
| Active warning systems / ADAS | Forward collision mitigation and speed alerts help overall safety | Limited usefulness in reversing-specific scenarios | Useful complement for forward hazards; cameras still needed for reversing evidence |
| Banksman & procedural controls | Human control for highest-risk manoeuvres; real-time judgement | Labour costs and availability | Use for high-risk sites with cameras for audit trails |
| Insurance telematics | Integrates events, location and driver behaviour for root-cause analysis | Adds data governance complexity | Integrate camera events with telematics for faster incident resolution |
Final recommendation: For most urban fleets the best balance is side cameras + radar + updated pre-shift checks; for long-haul fleets, wired recording with a tested trailer-disconnect strategy.
Pilot first, then scale. Baseline your current incident data, run a 2–4 vehicle pilot across your common duty types, validate uptime and evidential quality, then roll out in blocks with standardised install templates. Driver training and maintenance will determine success more than flashy features.
If it’s not reliable in the wet at 0200, it’s not reliable.
The best system matches your use-case: wired multi-camera + DVR with a dedicated Susie-line connection for long-haul operations and frequent trailer swaps (it reconnects automatically at coupling); wireless multi-camera for fixed tractor-trailer pairs or low-loaders and extending trailers; 360° systems for tight urban manoeuvres. Run a short pilot to confirm.
Many camera systems can support FORS and DVS if correctly positioned, recording is configured, and documentation is kept – always confirm with your auditor. Confirm positioning against FORS/DVS guidance for nearside and rear coverage, ensure recording retention and device configuration meet scheme requirements, and keep installation evidence (photos and signed configuration sheets) for audits.
Position cameras to cover trailer sides near the coupling, the rear centreline (rear camera mounted low on the trailer rear, not the top frame), and driver blind-spot zones. Use standardised mounting templates and photograph angles for records.
Modern wireless can be reliable but must be tested on the full trailer configurations you operate. Consider high-gain antennas and a wired fallback for critical routes.
Retention depends on lawful basis and business need. Typical operational retention is a 30–60 day rolling cycle, with footage exported and archived where an incident requires longer retention – document your GDPR policy.
No – cameras are a supplement. Mirrors remain a legal requirement in many contexts and provide depth cues cameras may not.
Typical ranges: single reversing cam £150–£600; side blind-spot kit £400–£1,200; full wired multi-camera + DVR £1,200–£4,000; 360° systems higher. These are estimates – get quotes.
Daily driver checks, weekly lens cleaning/inspection, quarterly firmware and hardware checks, and replacement of worn cabling at service intervals.
Yes – but store footage securely, retain chain-of-custody logs, and ensure data protection procedures are followed.
Poor mounting angle, unsecured cables at the coupling, insufficient night testing, and ignoring driver UX (screen glare; placement) are the most common errors.
Download the installation checklist or book a no-nonsense site survey with engineers who actually fit kits. We’ll run a short 30-minute vehicle audit and give a practical pilot plan – no hard sell.
A print-ready PDF covering all four rollout phases – pilot selection, per-vehicle installation sign-off, validation tests and ongoing maintenance schedule. Includes a pilot metrics table and red flags section.
Tell us what vehicles you run and what you need — we will come back with a recommendation and a price. Prefer to talk? Call 01656 721871.
Related guides: Best Fleet Camera Systems for 20+ Vehicles · How an MDVR Integrates With Your Vehicle Camera System
4 August 2026
Monday to Friday:
8.30am-5.30pm