
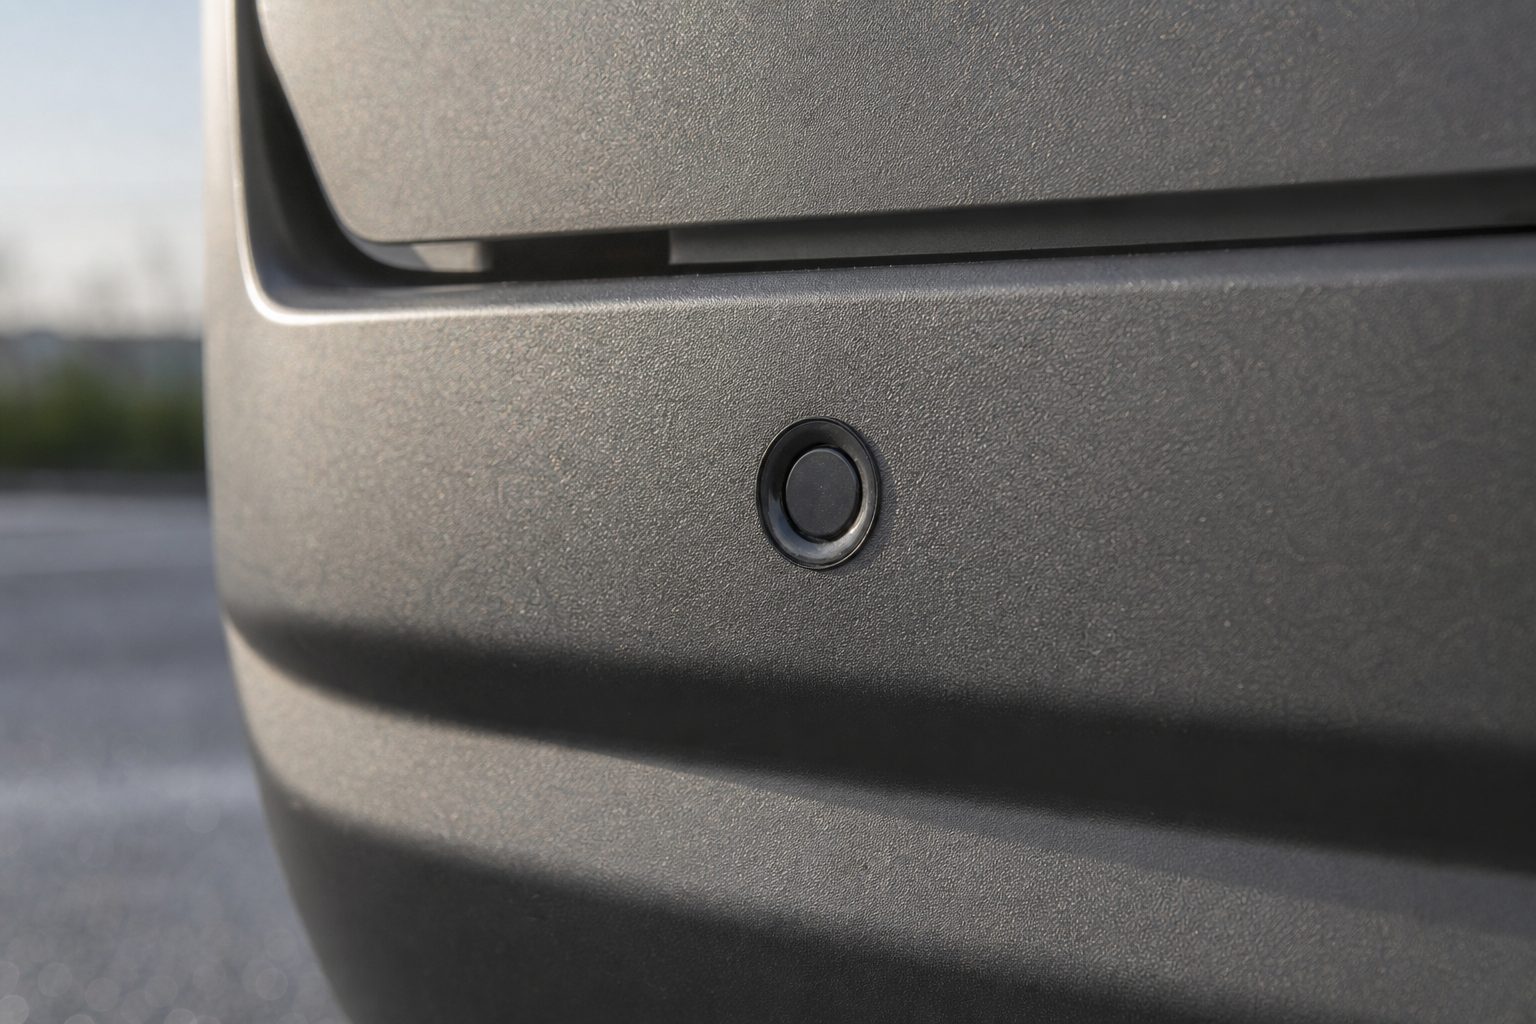
Your proximity sensor system is beeping when there is nothing there, or staying silent when there is. Either way, something is wrong — and a faulty sensor system on a commercial vehicle is not just an inconvenience. It is a safety system that has stopped working, often at exactly the moment your driver needs it most. This guide covers the five most common fault types, how to identify which one you have, and what to do about each one.
Proximity sensor faults on fleet vehicles tend to cluster around a small number of causes. Understanding which category you are dealing with narrows the fix immediately.
A sixth category — sensor component failure — does happen, but it is less common than most fleet managers expect. Before replacing sensors, work through the five categories above. Most faults are fixable without new hardware.
This is the most common fault on commercial vehicles by a significant margin, and it is the easiest to miss because the sensor looks fine from a distance. A thin film of compacted mud, oil mist, or road spray on the sensor face is enough to degrade detection accuracy — or to eliminate it entirely.
Symptoms: Intermittent detection failures on the rear or nearside sensors. Rear sensors stop detecting objects during or after wet weather. The fault clears temporarily after a vehicle wash, then returns within days.
Fix: Clean the sensor face with a lint-free cloth and a mild degreaser. Remove the sensor from its housing if possible and clean the back face too — mud packs into the housing gap on vehicles that operate off-road or on unsealed sites. Do not use high-pressure washers directly at the sensor face; IP-rated sensors are water resistant, not proof against direct jet wash pressure.
If the fault returns within a short time, check the operating environment. Vehicles running on construction sites, farms, or in waste management are exposed to contamination levels that make a monthly cleaning cycle necessary rather than a scheduled service item.
Cable problems are the most frustrating fault type because they are hard to diagnose visually and the symptoms — particularly intermittent faults — mimic almost everything else. Fleet engineers often report sensor issues that disappear completely when a diagnostic tool is connected, only to return the moment the vehicle goes back into service. Wiring is almost always the cause.
Symptoms: Sensors that work correctly on the bay but fail in service. Alarms that trigger without cause during reversing, then stop for several runs. Entire zones going dead after a heavy wash or extended cold spell. Any fault that is not reproducible on demand is likely wiring-related.
Fix: Inspect the full cable run from sensor to controller. Vibration is the primary enemy — anywhere the cable runs alongside the chassis or body frame, repeated flex can cause insulation cracking. Pay particular attention to:
Use a multimeter to test continuity along the cable run. A reading of 500 ohms or above indicates a healthy sensor connection. Anything below that range, or an open circuit, points to a break in the cable or a failed pin.
A poor earth connection is the most frequently overlooked cause of sensor misbehaviour on commercial vehicles, and it is disproportionately common on older rigid HGVs and trailer configurations where the earth bonding between tractor and trailer relies on the landing leg contact rather than a dedicated earth cable.
Symptoms: Multiple sensors triggering simultaneously without cause. The system works correctly immediately after starting but develops faults as the vehicle warms up. Faults that shift between different sensor zones on successive runs — the rear triggers today, the nearside tomorrow.
A worn earth wire along the frame rail can cause exactly this pattern: an intermittent short as the cable flexes during driving creates random sensor triggers. This is a known failure mode on vehicles that have accumulated high mileage without a full wiring loom inspection.
Fix: Test the sensor controller’s earth connection first. Measure resistance between the controller earth terminal and the vehicle chassis ground — it should read near zero ohms. Any resistance above 0.5 ohms indicates a degraded earth path. Clean the earth connection point back to bare metal, re-terminate with a proper ring terminal, and re-test. For trailer configurations, fit a dedicated earth cable between tractor and trailer rather than relying on the body-to-chassis contact point.
Sensors that have shifted out of position — through a minor impact, vehicle wash damage, or simply loose mounting hardware — either generate constant false alarms or leave detection gaps that were not there at installation.
Symptoms: A rear sensor that triggers immediately on engagement of reverse, regardless of what is behind the vehicle, is almost always pointing at the ground or at the vehicle’s own towbar or step. A nearside sensor that no longer detects objects has typically rotated downward after the mounting bracket worked loose.
Fix: Check sensor alignment visually with the vehicle on level ground. Rear sensors should be horizontal and pointing rearward, not angled toward the ground. Side sensors should be parallel to the vehicle body, not angled outward. Tighten all mounting hardware to the torque specified in the installation documentation — finger-tight is not sufficient on a vehicle experiencing road vibration at motorway speeds.
After re-aligning, walk test the corrected sensor zone: approach from the direction the sensor is meant to cover and verify the yellow (caution) zone triggers at 2–3 metres, then the red (stop) zone at under 1.5 metres. Document the test. For FORS-audited fleets, this record is part of the maintenance evidence chain.
The sensors themselves may be working correctly, but if the controller module is not processing the signal — or if the cab display has lost its connection — the driver sees nothing. This is the fault type most likely to be misdiagnosed as a sensor failure.
Symptoms: No cab display alerts even when an object is close enough to trigger the sensor. The controller indicator light is off or showing a fault code. Multiple sensors across different zones all appear dead simultaneously — which is statistically unlikely to be a sensor failure on all units at once.
Fix: Check the controller power supply first. The controller typically draws power from a switched ignition circuit — verify it is receiving the correct voltage (usually 12V or 24V depending on the vehicle). Check the controller’s own fuse. Then check the data connection between the controller and the display: loose connections at the display unit are common on installations where the cab layout has been modified.
If the controller has a diagnostic output port, connect a laptop with the supplier’s diagnostics software. Most commercial proximity sensor systems log fault codes — a controller fault, communication error, or individual sensor dropout will appear as a coded entry that pinpoints the failing component exactly, rather than requiring engineers to work through the system by elimination.
Most fleet managers ask the same question when a sensor system develops problems: is it worth fixing, or should we replace the whole system? The answer depends on the fault type.
A system that is generating persistent nuisance alarms — particularly one that causes drivers to mute or ignore alerts — should be treated as a safety-critical fault, not a tolerable quirk. Drivers who have learned to dismiss a beeping sensor are a liability. The fix may be as simple as a height calibration adjustment; leaving it unfixed is not an option.
The sensor is almost certainly aimed at the vehicle itself — at a towbar, a step, or the ground surface. Re-align the sensor to point rearward and horizontally, and raise the mounting height if it is below 0.8m from the ground.
This is a classic wiring fault — specifically vibration-induced cable damage or a connector that works loose during driving. Inspect the full cable run for insulation damage and check all connector pins for corrosion or poor seating.
Most fleet-grade sensors are rated to IP67 or IP69K, so they can handle a vehicle wash. Do not direct a high-pressure lance at the sensor face at close range — the rating covers immersion and normal wash, not sustained direct jet pressure.
Road salt accelerates connector pin corrosion and degrades the insulation on older wiring looms. Cold temperatures also change the resistance characteristics of corroded connections, making intermittent faults more likely. Inspect connectors and earth points at the start of the winter season.
For most fleet vehicles in normal operation, a quarterly inspection — cleaning, alignment check, walk test — is sufficient. Vehicles in high-contamination environments (waste, construction, agriculture) need monthly cleaning and a post-wash check after any deep cleaning.
Yes. FORS Silver requires a functioning nearside sensor with driver audible alert. If a sensor system is non-functional, the vehicle is not compliant and should not be deployed in the affected configuration until the fault is resolved.
A 5-step diagnostic checklist covering contamination, wiring, grounding, alignment, and controller faults — with a repair vs replace decision guide.
Tell us what vehicles you run and what you need — we will come back with a recommendation and a price. Prefer to talk? Call 01656 721871.
Related guides: The Best Sensor Placements for Different Vehicle Types · How Safety Sensors Integrate With Camera Systems
4 August 2026
Monday to Friday:
8.30am-5.30pm