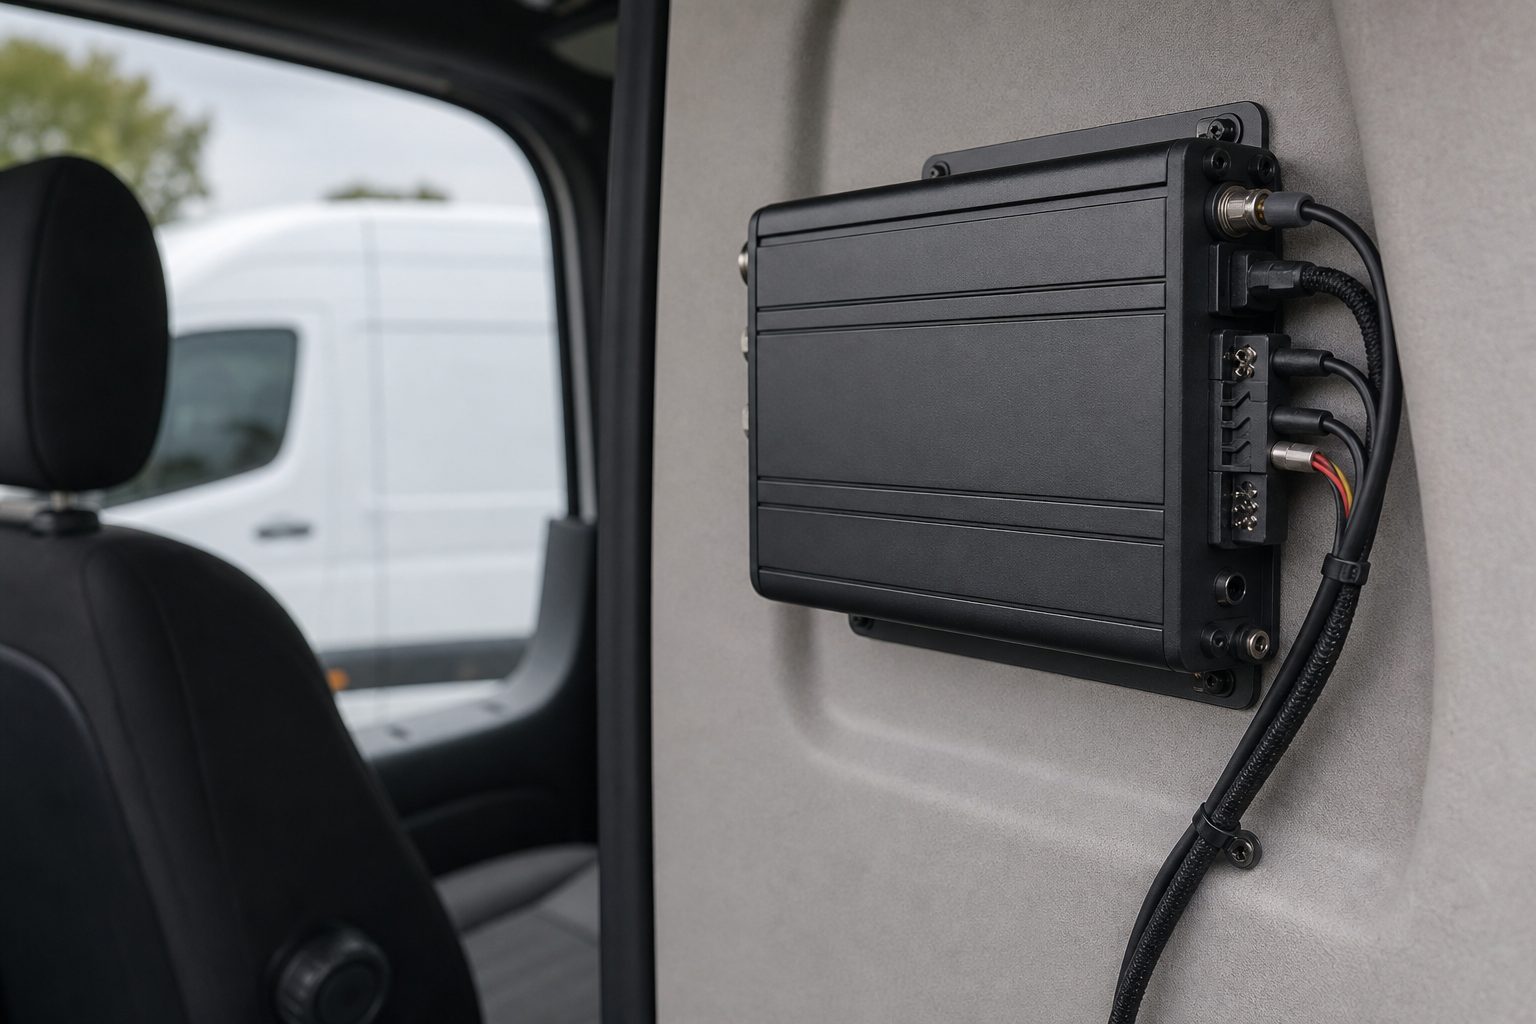
Fleets that effectively deploy robust camera systems, combined with rigorous site controls, typically report noticeably fewer incidents year on year.
Quick Answers
Where should cameras be placed on construction vehicles?
Optimal camera placement focuses on eliminating blind spots around the vehicle. Key zones include the rear (for reversing), nearside and offside (for side-swipe prevention), and front (for forward obstructions). Ensure cameras are positioned to capture critical areas while maintaining ground clearance and a clear line of sight from the operator’s perspective.
What is the best camera for blind spots?
For effective blind spot coverage, wide-angle side-facing cameras are highly recommended. A 360-degree surround view system, though more complex, offers comprehensive visibility around the entire vehicle, making it ideal for large plant or vehicles operating in congested areas. Ensure the system shows part of the machine for operator reference.
Do cameras replace mirrors?
No. Cameras complement mirrors — they do not replace them. While cameras significantly enhance visibility, especially in challenging conditions or extreme blind spots, traditional mirrors provide an immediate, uninterrupted, and often legally required field of view.
What We Mean by “Camera Placement” for Construction Vehicles
When we talk about “camera placement” for construction vehicles, we’re defining the precise physical position, angle, height, and orientation of all cameras mounted on your mobile plant. This also extends to the optimal placement of in-cab monitors and the overarching strategy for recording and managing footage.
This guide specifically covers:
Mobile plant: Excavators, telehandlers, mobile cranes, loaders
Heavy goods vehicles (HGVs): Tippers, dumpers, concrete mixers
Support vehicles: Vans, pickups used on site, site welfare units
Trailers: Towable plant and equipment carriers, especially for reversing
Temporary plant: Generators, lighting towers, where security cameras might be deployed
Operators want to know, “Can I see the kerb when reversing a dumper?” — and the answer hinges on correct placement, angle, and monitor setup.
How Camera Technology Changes Where You Mount Cameras
Field of View (FOV) and overlap planning: Wide-angle cameras (120–180°) are best for close-proximity blind spots, while narrower views suit rear-view or forward-facing surveillance over greater distances.
IR / low-light cameras: Use near-infrared LEDs to illuminate subjects in low light (typically 10–30m range). IR reflection through wet glass can produce a washed-out image, so hooded housings and external mounts are recommended.
Thermal cameras: Detect heat signatures rather than light — excellent for human detection in darkness, fog, or heavy smoke. Best mounted higher for a broader sweep where pedestrian detection is paramount.
360° surround systems: Stitch images from multiple cameras (often four to eight) into a single top-down view. A stable mounting point (e.g., rooftop) is critical. Latency between camera and display should ideally be kept below 200ms.
AI analytics: Cameras with integrated AI analyse video feeds to detect specific events (e.g., pedestrian intrusion, lane departure). For reliable AI performance, a stable mount and consistently clean, unobstructed view are non-negotiable.
Tech Type
What It Means for Placement
IR Night Vision
Best when lens has clear line-of-sight; avoid mounting behind cab glass
Thermal
Good human detection at night; mount higher to get broader sweep
360° Surround View
Requires stable, level mounting (e.g., vehicle roof); minimises close-range blind spots but can have stitching issues
All vehicles, especially dumpers, excavators, vans
Rear chassis/bumper, above licence plate, roof
Covers the rear blind spot, aids reversing
Prone to dirt/mud, narrow FOV at times
Low–Medium
Side / blind-spot wide-angle
HGVs, excavators, loaders, telehandlers
Side mirrors, fender, wheel arches, counterweights
Critical for nearside/offside blind spots, DVS compliance
Can get dirty, requires careful angling
Medium
360° stitched-surround
Large plant, long HGVs, vehicles in congested sites
Rooftop, or multiple pods (front, rear, sides)
Comprehensive overhead view, real-time awareness
High distortion/stitching errors at close range, higher cost
High
PTZ (pan-tilt-zoom)
Tower cranes, mobile cranes, temporary plant security
Crane jib, high masts, vehicle roof
Flexible viewing, zoom for detail, remote monitoring
Requires operator input, latency
Medium–High
IR / low-light
Any vehicle operating in low light or night shifts
Exterior, free from glass reflection, hooded
Clear vision in darkness, critical for night operations
Limited range, can wash out with rain/fog
Medium
Thermal
Large plant in heavy fog/smoke/night
Exterior, usually higher for broad sweep
Excellent for human detection, unaffected by fog/smoke
Poor for object recognition, black/white view
Medium
AI-enabled event camera
All vehicles, for proactive alerts
Often integrated into front/rear/side cameras
Proactive alerts for pedestrians, collision warnings
Risk of false positives, requires stable mount
Medium–High
Trailer-mounted / extendable
Articulated vehicles, long loads, wide loads
Rear of trailer, sides, extendable poles
Crucial for reversing long trailers, wide load awareness
Wireless can be unreliable, wired is complex to route
Medium–High
Cab-side camera pods
HGVs (DVS compliance), large vans
Side of cab, fitted in addition to traditional mirrors
Wider FOV than mirrors, reduced glare, DVS compliance
Operators can dislike digital view, higher cost
High
Does It Work? Evidence, KPIs and Real Limitations
Key Performance Indicators (KPIs)
Incidents per 100k vehicle-hours: Target example: Baseline 4 incidents/100k hrs → target −20% within 12 months
Near-misses captured by camera
Camera system uptime %
False-positive rate for AI alerts
Time to retrieve footage (minutes)
Maintenance actions per vehicle per year
Insurance claims citing visibility
Operator acceptance score
Illustrative Scenario — Aggregates Site Example
Item
Details
Location
Aggregates site (illustrative example)
Vehicle Types
3 tippers, 2 excavators
Baseline Incidents (prior 12 months)
4 collisions (reversing into static objects), 11 near-misses (pedestrian close calls)
Solution Implemented
Rear and nearside cameras on all vehicles, combined with daily maintenance checks and mandatory driver training
Results at 6 months
No collisions recorded; near-misses markedly reduced from baseline
Lessons Learned
Regular scheduled quarterly alignment checks are crucial; avoid cab-glass mounts for IR cameras due to reflection
In scenarios like this, operators typically report that a nearside camera changes how they approach tight turns, because they can clearly see the kerb.
Which Vehicles and Operations Benefit Most
High Benefit
Vehicles operating in busy urban sites: tight streets, high pedestrian traffic, cyclists
Crane and load-lift operations: precision required, high risk to ground workers
Multi-vehicle sites with complex pedestrian flows
Medium Benefit
Single-operator rural plant: generally good line-of-sight, but still vulnerable to blind spots when manoeuvring
Fleet vehicles on longer hauls: primarily for incident recording and driver behaviour monitoring
Coverage Tiers
Essential (Safety-Critical Zones Only): High-quality rear-view camera plus at least one nearside blind-spot camera. This is your minimum DVS-compliance baseline.
Recommended (Full Surround): Expand to cover all key blind spots (front, rear, nearside, offside) with wide-angle cameras.
Premium (360° + Thermal + AI): Full 360° surround view, thermal cameras for low-light/fog detection, and AI analytics for proactive alerts.
Risks, Blind Spots of Relying on Cameras, and How to Mitigate Them
Operational Risks
Misplaced cameras creating new blind zones: Incorrect angle or height can miss critical ground-level obstacles or close-proximity workers
Glare & reflection: Direct sunlight, wet surfaces, or reflections through cab glass can render camera feeds unusable
Sensor misalignment after bumps: Rough terrain or minor impacts can knock cameras out of alignment
Lens occlusion: Mud, dust, snow, or spiderwebs can quickly obscure camera lenses
Legal/Privacy Risks
GDPR and data retention: Storing footage of workers and public requires a lawful basis, clear retention policies, and compliance with data subject access requests (DSARs)
Direct Vision Standard (DVS): Specifically for London, DVS has legal requirements for HGV visibility. Verify current DVS requirements on gov.uk
Develop a data retention policy (e.g., default 30 days unless flagged)
Secure stakeholder sign-off: driver representatives, site managers, safety officers, IT
Step 2: Site and Vehicle Survey
Walk-around assessment: mark risk zones and common blind spots
Map common pedestrian flows and vehicle paths on site
Vehicle-specific assessment using printable templates per vehicle type
Tools: laser measures for mounting heights, helmet-cam mockups for operator sightlines
Identify potential mounting points on vehicle bodywork — no drilling into structural elements like ROPS or counterweights without manufacturer approval
Monitors: Anti-glare coating, 7–10 inch display, operating temperature −20°C to +70°C
Plan for a reliable, fused power feed from the vehicle’s electrical system
Decide on onboard SD card storage — high-endurance, Class 10/MLC cards; reformat every 3 months
Step 4: Installation
Use vibration-damping mounts on heavy plant to prevent blurry images and extend camera life
Ensure cameras show a portion of the machine to give the operator a “frame of reference”
Mount cab monitors within easy sightline without obstructing mirrors or critical views
Route harnesses along existing wiring looms, securing with heavy-duty cable ties every 30cm
Use grommets where cables pass through bodywork; avoid pinch points and areas of high heat
Individual runs must not exceed 22 metres; no more than five harnesses in series
Step 5: Commissioning & Training
Operator training (5–10 min): How to interpret camera views, identify hazards, understand limitations
Acceptance test manoeuvres: reverse alongside a dummy pedestrian, load-lift test with spotters, nearside turn with obstacle, forward approach to low obstruction, night-time manoeuvre
Signed-off acceptance form by operator and site manager
Step 6: Maintenance & Review
Maintenance Task
Frequency
Responsible Role
Lens Cleaning
Daily
Operator
Monitor Check
Daily
Operator
Bracket Check
Weekly
Site Supervisor / Fitter
Cable Inspection
Weekly
Site Supervisor / Fitter
Firmware Update
Monthly
Maintenance Team / IT
Storage Check
Monthly
Maintenance Team / IT
Full System Test
Quarterly
Safety Officer / Fitter
Policy Review
Annually
Management / Legal
Exact Placement Templates — Common Construction Vehicles
Rear View (1): High-mounted on the tailgate or chassis, 0.8–1.2m above ground, aimed 10–15° downwards to capture ground at 2–6m behind the vehicle
Nearside (2): Chassis, just behind the cab or near the front wheel arch, 0.6–1.0m above ground, aimed slightly downwards and outwards (15–20° horizontal sweep)
Offside (3): Similar to nearside, for traffic awareness and blind spot on the driver’s side
Front (4 – optional): On the front grille or bumper, 0.8–1.5m above ground, aimed slightly downwards
Rigid Dumper — Recommended: 3–4 Cameras
Rear View (1): High on the chassis or rear bumper, 0.8–1.2m above ground, aimed 10–15° downwards
Nearside (2): On the chassis behind the cab, 0.6–1.0m above ground, aimed outwards (15–20° horizontal sweep)
Offside (3): Similar to nearside, for driver’s side blind spot
Front (4 – optional): On the front grille/bumper, 0.8–1.5m above ground
Excavator (Cab + Boom) — Recommended: 3–5 Cameras
Rear View (1): On the counterweight, 0.8–1.2m above ground, aimed downwards at 15–20° to cover the swing radius directly behind
Nearside (2): Low on the counterweight or body, 0.6–1.0m above ground, to catch ground-level workers and the full swing area
Offside (3): On the cab side, just below window level, aimed to cover the side of the machine
Boom Camera (4 – optional): Mounted near the base of the boom or dipper, facing the bucket, for precision in blind areas
Telehandler / Forklift — Recommended: 2–3 Cameras
Rear View (1): High on the counterweight or rear chassis, 0.8–1.2m above ground, aimed downwards 10–15°
Nearside (2): Mounted on the chassis, just behind the front wheel, 0.6–1.0m above ground, aimed outwards
Fork/Attachment Camera (3 – optional): Mounted on the fork carriage, aimed at the fork tips or load, for precise load placement
Concrete Mixer Truck — Recommended: 3–5 Cameras
Rear View (1): High on the rear chassis or above the discharge chute, 1.0–1.5m above ground, aimed downwards 15–20°
Nearside (2): On the chassis, behind the front wheel or mid-vehicle, 0.6–1.0m above ground — critical for DVS compliance
Offside (3): Similar to nearside, for the driver’s side blind spot
Chute Camera (4 – optional): Mounted near the discharge chute, aimed at the pouring point
Flatbed / Curtain-sider with Trailer — Recommended: 4–8 Cameras
Tractor Rear View (1): On the cab’s rear, 1.0–1.5m high, aimed to see the trailer hitch
Tractor Nearside (2) & Offside (3): On wing mirrors or side of cab, 1.0–1.5m high, wide-angle for DVS compliance
Trailer Rear View (4): On the very rear of the trailer, 0.8–1.2m high, aimed downwards 10–15°
Trailer Nearside (5) & Offside (6 – optional): Mid-trailer, 0.6–1.0m high, to cover the long trailer blind spots
Pickup / Van Used On-Site — Recommended: 2–3 Cameras
Front Dashcam (1): Interior windscreen, high, to capture road incidents and driver behaviour
Rear View (2): On the tailgate or high-level brake light, 0.8–1.2m high, aimed downwards
Nearside (3 – optional): Under the wing mirror or on the side panel, 0.6–1.0m high, for tight urban manoeuvring
Common Myths — and the Real Fix
“More cameras = better”
Simply adding more cameras doesn’t guarantee better coverage or safety. Prioritising strategic overlap and covering critical blind spots is more important than sheer count. Too many poorly placed cameras can overwhelm the operator and reduce clarity.
“360° systems remove the need for side cameras”
360° surround view systems can have stitching blind spots — especially at very close ranges — and distortion can make objects appear further away. Dedicated wide-angle side cameras often provide clearer, undistorted, real-time views for DVS compliance and pedestrian safety. Use 360° as an overview; complement with dedicated side cameras for critical close-proximity manoeuvres.
“Higher resolution fixes bad placement”
A high-resolution camera won’t improve a bad angle or see through an occlusion. Focus on optimal physical placement first (angle, height, cleanliness), then consider resolution for detail capture.
“IR works through any glass”
Infrared illumination can reflect off glass — especially if wet, tinted, or dirty — creating a washed-out or completely obscured image. For reliable night vision, external camera mounts are almost always preferable for IR-enabled units.
“AI means no human review”
AI-enabled cameras are powerful filters that can highlight potential incidents, but they are not decision-makers. AI reduces the volume of footage to review, not the necessity of review. Train staff to review AI-flagged events and audit false positives regularly.
What Else Should Fleets Consider — Sensors, Mirrors and Site Controls
Proximity sensors / ultrasonic systems: Auditory and visual alerts for objects within a set range (0.5–2m). Ideal for low-speed manoeuvring but prone to false alarms from rain/dirt.
Radar / LiDAR pedestrian detection: Excellent in adverse weather, detects movement and distance. Higher cost, doesn’t provide visual context. Best for high-risk areas with frequent pedestrian movement.
Mirrors (convex, truck mirror setups): Passive, always on, cost-effective, legally required for many vehicles. Always use as a primary visual aid — cameras complement, not replace, mirrors.
Human spotters and site traffic management: Best for critical lifts, blind reverses into active work zones, or complex site logistics.
Combined solutions (camera + radar + AI): Multi-layered detection for maximum safety in extremely high-risk operations.
Low-tech: painted exclusion zones, banksmen, audible alarms: Simple, clear, effective fundamental layers of site safety alongside any technological solution.
Apply anti-glare film; adjust monitor angle/hood; reposition camera
Intermittent recording
Power feed issue, faulty SD card
Check fuse/wiring; ensure robust power connection; replace SD card
No image from specific camera
Cable fault, camera damage
Check cable connection; inspect for physical damage; test camera unit
“No Signal” on monitor
Loose cable, power loss, incompatible gateway
Check all harness connections; verify camera power; ensure compatible gateway
AI false positives
Miscalibration, dirty lens, poor placement
Clean lens; recalibrate AI; adjust camera angle
Monitor not powering on
Vehicle power issue, fuse blown
Check vehicle battery; inspect wiring to monitor; replace fuse
UK Legal and Privacy Notes — DVS, GDPR and Site Signage
Data Protection (GDPR)
Lawful Basis: Footage capturing identifiable individuals is personal data. You typically need a “legitimate interests” basis (e.g., safety, crime prevention), which requires a Legitimate Interests Assessment (LIA)
Retention Limits: Store footage only as long as necessary — default 30 days is generally acceptable. Excessive retention is a GDPR breach
Purpose Limitation: Use footage only for the purposes you’ve defined (safety, security, training)
DVS is a permit system for HGVs over 12 tonnes operating in Greater London. Vehicles with a low DVS star rating require additional safety measures (e.g., cameras, sensors) to obtain a permit. Verify current DVS requirements at gov.uk.
This is guidance only — always verify current regulations and consult with legal counsel. Backwatch is not a legal advisor.
Frequently Asked Questions
Where should I put cameras on a dumper truck?
Optimal camera placement for a dumper truck includes a high rear-view camera (0.8–1.2m above ground, aimed downwards) for reversing, and a nearside wide-angle camera (0.6–1.0m above ground) to cover the significant side blind spot. A front camera can further assist with load checks and forward obstructions.
Can I mount IR cameras behind cab glass?
It is generally not recommended. Infrared light can reflect off glass — especially if wet, tinted, or dirty — causing a washed-out or obscured image. For optimal night vision performance, external mounting with a clear line of sight is preferred.
How many cameras are enough for an excavator?
A minimum of three cameras is typically recommended: one on the counterweight for the rear swing path, one low on the nearside to catch ground workers, and one on the offside. An optional boom camera can further enhance precision digging. Always verify on-site.
What retention period is acceptable for on-site footage?
A retention period of 30 days is generally considered acceptable under GDPR, assuming a lawful basis like legitimate interests for safety and security. Footage related to specific incidents can be retained longer, provided there’s a clear justification.
Will cameras reduce my insurance premiums?
Cameras can potentially reduce insurance premiums by reducing incidents and providing irrefutable evidence for claims. Many insurers offer discounts for fleets with robust camera systems — always consult your provider for specifics.
Do 360° systems eliminate blind spots?
360° systems significantly reduce blind spots by providing a comprehensive overhead view. However, they don’t eliminate all blind spots due to potential stitching errors at very close ranges or distortion. Complementing them with dedicated side cameras is often recommended.
How often should cameras be serviced on construction vehicles?
Cameras on construction vehicles should undergo daily operator checks for cleanliness, weekly visual integrity checks, monthly firmware and storage health checks, and quarterly full system tests with recalibration.
Your Next Steps
Start with a survey: Use site and vehicle survey templates to identify your most critical blind spots and highest-risk operations
Fix the worst blind spots first: Prioritise a high-quality rear-view camera and at least one nearside camera on your most active vehicles
Then scale: Gradually expand to full surround systems, advanced AI, and thermal cameras as your budget and risk profile dictate
Even small changes can stop big claims — start with a site survey.
We use cookies to ensure that we give you the best experience on our website. If you continue to use this site we will assume that you are happy with it.