
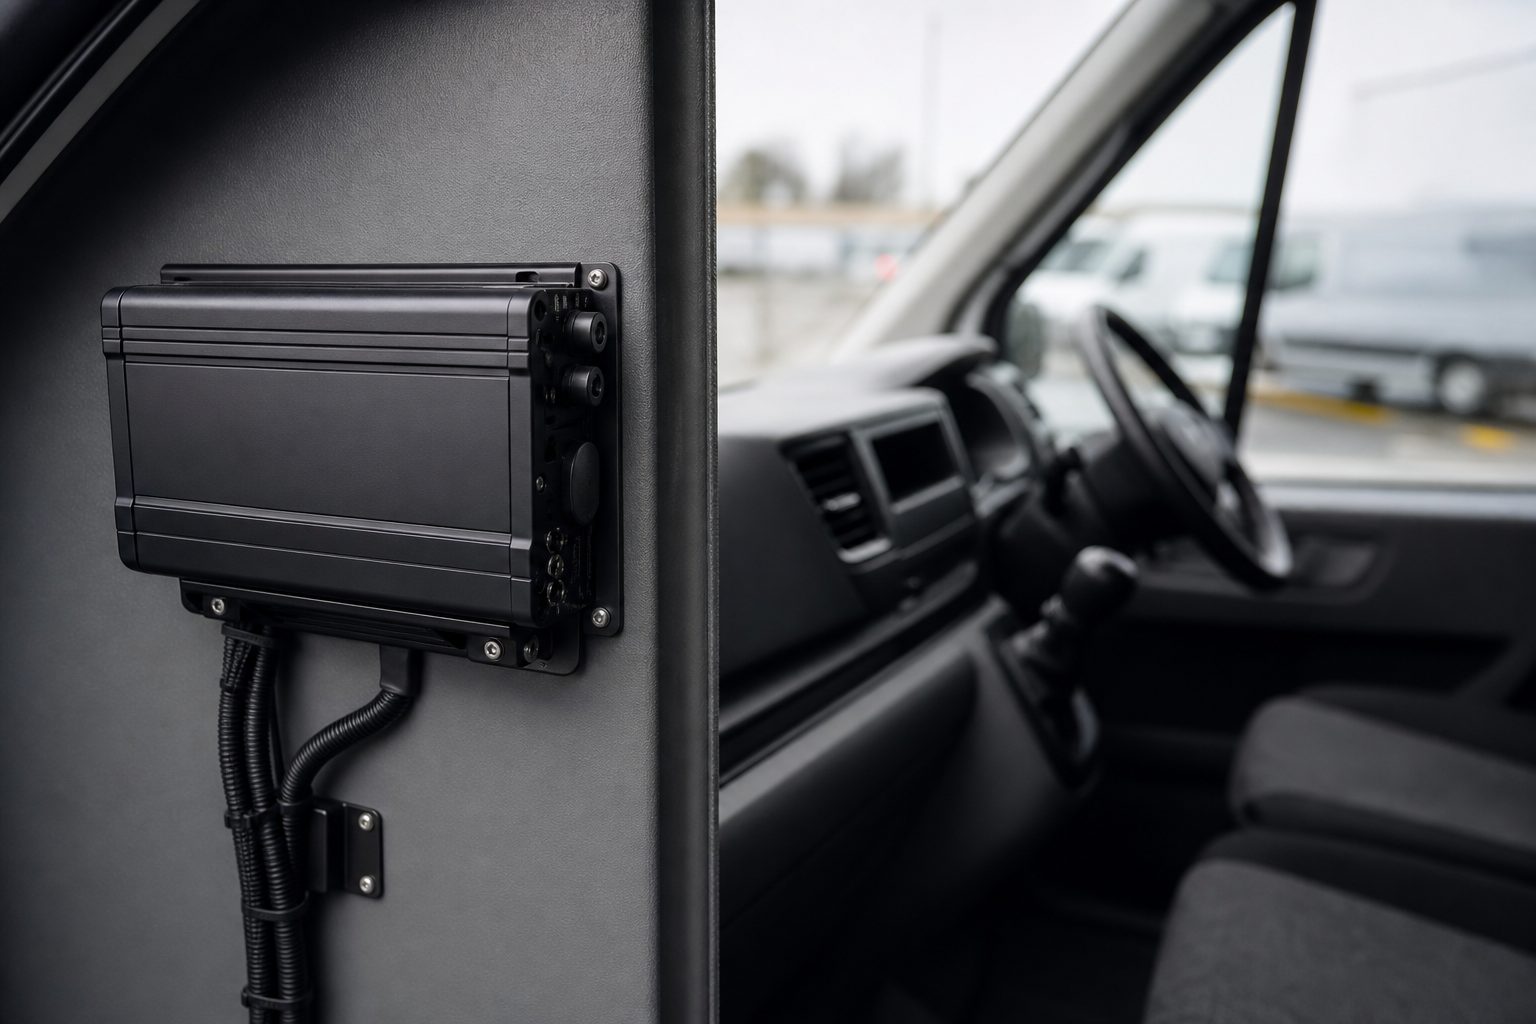
Problem: messy wiring, wasted hours and missing evidence. This guide is for fleet managers, HGV technicians and in-house installers who need a practical, operator-first MDVR install procedure that works on real trucks.
Estimated time-to-complete: 90–180 minutes (single technician) — varies by vehicle and cable routing.
Skill level: Intermediate electrical & vehicle access (multimeter and basic crimping experience required). Safety note: isolate battery before any wiring.
Common install scenario: Typical 4-channel MDVR with HDD/SSD, 4G SIM, GPS & LTE antennas. We’ve heard operators: “wiring a nightmare,” “SIM won’t register,” and “antenna in wrong place = no GPS.” This guide addresses those failures head-on.
An MDVR (Mobile Digital Video Recorder) records multi-channel camera feeds, GPS and vehicle data; when set up correctly it supplies reliable evidence for incidents, helps with driver coaching and supports fleet monitoring.
What it fixes for fleets: synchronized multi-camera footage plus location data for incident evidence, fewer disputed claims and faster investigations, and the option for live view and targeted coaching where networked.
Common operator pains we see include messy cab runs and hidden connectors that fail over time, SIM/APN headaches when SIMs aren’t provisioned before install, and unreliable GPS/LTE when antennas are poorly placed.
Operator notes: activate and test SIM before sealing panels; plan routes and label everything; test antenna location before final fix.
An MDVR is a multi-channel vehicle recorder and gateway.
Featured snippet (use verbatim):
An MDVR (Mobile Digital Video Recorder) is a multi‑channel recorder installed in HGVs that captures camera feeds, GPS and vehicle data, and can stream footage over 4G — used for evidence, safety coaching and fleet monitoring.
| Part / Consumable | Qty | Typical spec / note |
|---|---|---|
| MDVR unit (4CH typical) | 1 | 12–36V compatible |
| HDD or SSD | 1 | 500GB–2TB; SSD recommended for high-vibe fleets |
| 4G SIM card | 1 | Data plan with APN; test prior to install |
| GPS antenna | 1 | Active GPS antenna with SMA/MCX lead |
| LTE antenna | 1 | 4G/3G antenna, magnetic or bonded mount |
| Cameras (rear/front/nearside/offside) | 4 | IP67 recommended for externals |
| Power loom + ignition sense wire | 1 | Pre-made or custom loom |
| Inline fuse & holder | 1 | Fuse sized to device (see fuse guidance) |
| Monitor (optional) | 1 | HDMI/AV/VGA as supported |
| Grommets, brackets, screws | Assorted | Get spare grommets & screws |
| Heat shrink, crimps, zip ties | Assorted | Weatherproof crimps recommended |
Tools & consumables
Safety & PPE
Preparation & regulatory notes
Pass/Fail preflight checklist: Battery location, SIM active, firmware checked, grommets available — include signature line on printable checklist.
This is the core: get power and fusing right to avoid fire risk, corrupt footage and repeat visits.
Do Not: use cigarette lighter sockets as final feed — they are not rated for permanent installs. Do not omit an inline fuse close to battery.
Pro Tip: use heat shrink over crimps and label each camera cable at both ends.
Micro examples: measure path plus 20% spare; typical camera cable lengths: front 3 m, side 5–10 m, rear 8–12 m. Example fuse: 4-channel MDVR drawing 4 A → 10 A blade fuse in inline holder < 300 mm from battery.
Recommended 4-camera layout
General mounting rules
Connector & routing tips
Operator tip: if side cameras get damaged in loading yards, raise mounting height and add conduit protection.
Where you place antennas determines whether GPS and 4G function properly.
GPS antenna placement
4G/LTE antenna placement
Ground plane — Some antennas require a metal ground plane; check antenna spec and use a bonding plate if needed.
Signal testing (indicative thresholds) — Check GPS lock and unit-reported satellites. LTE RSRP: acceptable around -95 dBm or better; poor below -110 dBm (indicative — check device doc).
Common mistake: mounting antennas inside cab to hide them — then getting no GPS lock. Test before final fix.
Mounting location — Inside cab, secure but away from heat and footwells; accessible for maintenance but out of casual reach to reduce tampering. Use anti-vibration brackets and tamper-resistant screws.
| Storage | Pros | Cons |
|---|---|---|
| HDD | Cheaper per GB; good for large archives | Vulnerable to vibration; shorter life in HGVs |
| SSD | Robust to vibration; faster; lower failure rate | Higher cost per GB; write-endurance considerations |
Recommendations
Confirm manufacturer port labelling but use a consistent mapping for your fleet and log it.
| Channel | Camera location | Purpose |
|---|---|---|
| CH1 | Rear | Rear view |
| CH2 | Front (windscreen or top of dash) | Road forward |
| CH3 | Nearside (front air deflector) | Kerb/blind-spot view |
| CH4 | Offside (front air deflector) | Offside view |
Tip: power the unit before connecting all cameras to verify boot and HDD init — saves diagnostic time.
Security & GDPR note: Change default passwords immediately and document retention policy. Consult your DPO for retention rules; this guide is not legal advice.
Operator tip: set APN and test SIM before sealing cable access — saves return trips.
| Test | Expected result | Pass/Fail | Notes |
|---|---|---|---|
| Power & boot | Unit boots, HDD detected, LEDs normal | ||
| CH1 feed | Live rear feed, reverse trigger works | ||
| CH2 feed | Live front feed, correct orientation | ||
| CH3 feed | Nearside feed, field of view OK | ||
| CH4 feed | Offside feed, field of view OK | ||
| GPS | GPS lock; coordinates accurate | ||
| 4G | LTE connected; RSRP within acceptable range | ||
| Event/G-sensor | Bump test triggers event; pre/post recorded | ||
| Parking mode | Unit records with ignition off (if required) | ||
| Remote access | Live view & sample download via CMS | ||
| HDD health | No errors; SMART OK | ||
| Final mechanical | Cables secured; no loose fasteners |
Installer sign-off: Installer name: ______ Date: ______ Vehicle reg: ______ VIN: ______
Testing tips: walk around vehicle with tablet/laptop to verify all feeds and angles; simulate reverse trigger and test auto-view switching.
| Problem | Action |
|---|---|
| No camera feed | Check power & connectors; reseat camera connector; verify CH port |
| No GPS lock | Reposition antenna; check coax continuity |
| SIM not registering | Test SIM in phone; verify APN and provisioning |
| Unit won’t boot | Check battery voltage under load; inspect fuse; try known good power feed |
| Corrupt footage | Check HDD/SSD mount and power stability; reformat per OSD |
| Poor 4G stream | Reposition antenna; test signal strength; increase data plan if needed |
| False triggers | Reduce G-sensor sensitivity; confirm correct sensor orientation |
If still fails: escalate to Backwatch support or schedule a professional installer; document steps taken.
Recordkeeping: keep install log, firmware versions and incident exports in maintenance folder. Use the downloadable maintenance calendar to schedule checks.
| Type | Use case | #channels | Storage | Remote access | Cost band | Install complexity | Best for | Downsides |
|---|---|---|---|---|---|---|---|---|
| Basic dashcam | Simple evidence | 1 | SD | Limited | Low | Low | Small vehicles | No multi-view, limited metadata |
| Standalone MDVR | Record-only archive | 4 | HDD/SSD | No/limited | Medium | Medium | Depot vehicles | No remote access |
| 4G-enabled MDVR | Live view + remote download | 4–8 | SSD | Yes | Medium–High | Medium–High | Long-haul fleets | Ongoing data costs |
| Cloud-first cameras | Stream & cloud storage | 1–4 | Edge + cloud | Yes (cloud) | High | High | Urban fleets | High recurring cost |
| Telematics-integrated MDVR | Integrated platform | 4–8 | SSD | Yes | High | High | Large enterprises | Integration complexity |
Scenario blurbs
DIY pros: lower immediate labour cost; control scheduling. DIY cons: higher risk of warranty void, mistakes and downtime if skills or tooling are lacking.
Professional pros: warranty compliance, speed, certified techs and proper test sign-off. Professional cons: higher upfront cost.
Decision scoring checklist — score to decide:
Example: many fleets saved on first-fit by doing installs in-house but paid for rework later — honest appraisal of in-house skill is critical.
| Risk | Mitigation |
|---|---|
| Fire from improper fusing | Fit fuse within 300 mm of battery; use correct fuse rating |
| Battery drain from poor parking wiring | Use ignition-sense wiring and manual isolation or dedicated APU/PowerCell |
| Corrupt footage from power loss | Use proper fusing, secure drive mounts and stable power |
| Poor GPS/4G due to antenna placement | Test signal before sealing; position antennas high and unobstructed |
| Voided warranty | Follow manufacturer guidance; record modifications and consult vendor |
| GDPR/data issues | Implement retention policy and consult DPO (not legal advice) |
Operator admonition: one fleet had a vehicle taken out of service after a dodgy fit — don’t risk it.
Recommendation matrix
Case 1 — Urban waste fleet: Problem: slow evidence retrieval. Approach: 4G MDVR with cloud retrieval. Result: faster claims handling. Lesson: cloud speeds evidence delivery but adds recurring cost.
Case 2 — Long-haul haulage: Problem: footage corrupted by vibration. Approach: switch to SSD, add anti-vibration mount. Result: corrupt files dropped near zero. Lesson: storage choice matters.
Case 3 — Antenna placement failure: Problem: poor GPS/LTE after install. Approach: relocate antenna to bonded roof mount and retest. Result: GPS lock and stable 4G. Lesson: test antenna before final seal.
Backwatch — practical, operator-first advice for safer fleets. For certified installations, visit our installation services page.
How long does MDVR installation take?
Typically 90–180 minutes for a single experienced technician, depending on cable routing and antenna work. See the Testing checklist section.
Can I install an MDVR myself or do I need a professional?
If you have intermediate electrical skills and vehicle access, DIY is feasible; for fleet scale, warranty-sensitive installs or limited in-house skill, use a professional.
How much does a typical MDVR install cost?
Hardware varies; basic 4CH MDVR labour typically sits in the low-hundreds to mid-hundreds GBP. Networked solutions add recurring data costs and may raise total cost of ownership.
Will installing an MDVR affect vehicle warranty?
Incorrect installs can void warranty. Record modifications and check manufacturer terms before drilling or altering vehicle systems.
How is recorded footage stored and how long is it kept?
Footage is stored on local SSD/HDD. Retention depends on overwrite settings and storage capacity; implement a company retention policy and consult your DPO.
What happens if the MDVR loses power?
Power loss during recording can corrupt the current file. Proper fusing, secure drive mounts and stable power feeds reduce risk—see Wiring and Storage sections.
How do I check the 4G signal strength on the MDVR?
Use the unit OSD or CMS to read RSSI/RSRP values; alternatively test the SIM in a phone. See Antenna placement section for indicative thresholds.
What are typical causes of corrupted footage?
Improper shutdowns, loose HDD mounts, power instability and failing storage media. Check power feeds, fuse placement and drive health.
Download our free 7-phase installation checklist covering preflight, wiring, camera mounting, antenna placement, configuration, commissioning tests and sign-off — with a channel-mapping table and fuse sizing worksheet.
Tell us what vehicles you run and what you need — we will come back with a recommendation and a price. Prefer to talk? Call 01656 721871.
4 August 2026
Monday to Friday:
8.30am-5.30pm